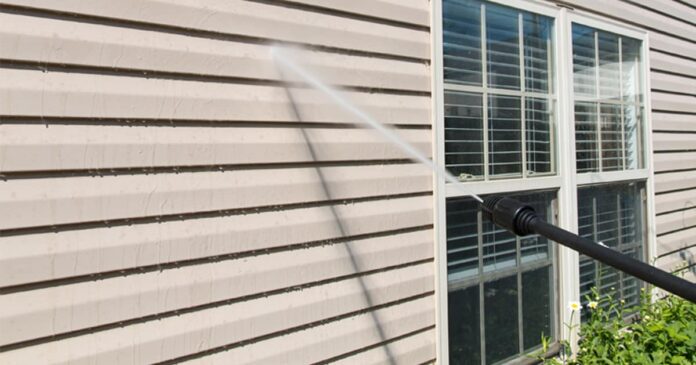
If you’re like most homeowners, you probably don’t give much thought to the exterior of your home until something goes wrong. And when it comes to the surface of your home, one of the most commonly neglected areas is the siding. But if your fiber cement siding is starting to look a little dingy, it’s time to give it a good cleaning with a pressure washer.
It is a great and easy way to clean and restore it to its original condition. Using the right amount of pressure and the right type of detergent, you can remove years of built-up dirt, mildew, and algae. Follow these simple steps to get started.
Step 1: Find the Right Location to Wash
Pressure washing cement siding is best done on a cool, overcast day. Avoid washing your siding when it’s hot and dry to minimize the chance of water spots. And never wash your siding when rain is in the forecast.
Step 2: Inspect the Siding for Loose or Damaged Sections
Remove any loose or damaged sections of the siding before you get started. This will prevent the loose siding from flying off your house and causing damage to people or property while it gets pressure washed.
Step 3 – Use the Right Solution for the Job
A mixture of chlorine bleach and water will work, but it’s not very effective and may damage some types of siding. It’s best to use a more aggressive cleaner like TSP (trisodium phosphate) or sodium per carbonate. You may have to pre-treat some mildew or algae stains, but these cleaners will remove the dirt that’s caked on the siding and make it look like new.
Step 4 – Get Started
You should set the pressure washer to at least 3000 psi and no more than 4000 psi. Start at the bottom of a section of siding and work your way up, overlapping each pass by half the width of the nozzle.
Step 5 – Maintain Consistent Pressure and Direction
Once you’ve started cleaning, don’t stop until you’re done. Making multiple passes with the nozzle pointed in different directions can damage your siding, so maintain consistent pressure and focus on each pass.
Step 6 – Rinse the Siding Thoroughly with Clean Water
After you’ve finished pressure washing, rinse the siding thoroughly with clean water. This is important because leftover detergent can damage or discolor the siding. You risk leaving soap residue if you don’t rinse the siding several times with clean water.
Step 7 – Clean the Surrounding Area Thoroughly
After you’re done power washing, take a moment to clean up any loose dirt or debris that was kicked up during the cleaning process. Sweep and wipe down your driveway, sidewalk, gutters, landscaping, walls, everything. Cleaning this area will prevent damage to your driveway or landscaping. You’ll also want to check gutters and downspouts for any debris that’s been removed from your siding. Clean them out, so there is no build-up.
Step 8 – Inspect your Siding upon Completion
After you are finished with the pressure washing, walk around the house and inspect your siding. You can’t tell if you got it clean unless you look closely at the color and texture, so take your time and do a thorough inspection. When you’re done, you’ll be amazed at how new your siding will look!
Step 9 – Maintain Your Siding
You can maintain a clean look by rinsing your siding with a pressure hose every few months. But don’t forget to clean the gutters and downspouts when you do.
And that’s it! Follow these simple steps, and your siding will look new again.
Summing Up
If you have fiber cement siding, it is important to clean it regularly. Pressure washing fiber cement siding is a great way to clean and restore it to its original condition. Using the right amount of pressure and the right type of detergent, you can remove years of built-up dirt, mildew, and algae. Also, be sure to use the right pressure washer nozzle and follow the manufacturer’s instructions for using the pressure washer.


